on
John Muir Trail 2019: Planning
Planning
My John Muir Trail journey began on a rainy February day in Los Angeles. Every year, the winter dreariness compels me to commit to ambitious goals six months distant. 2019 was no different in this regard, but the adventure was certainly much grander than anything I had thus attempted.
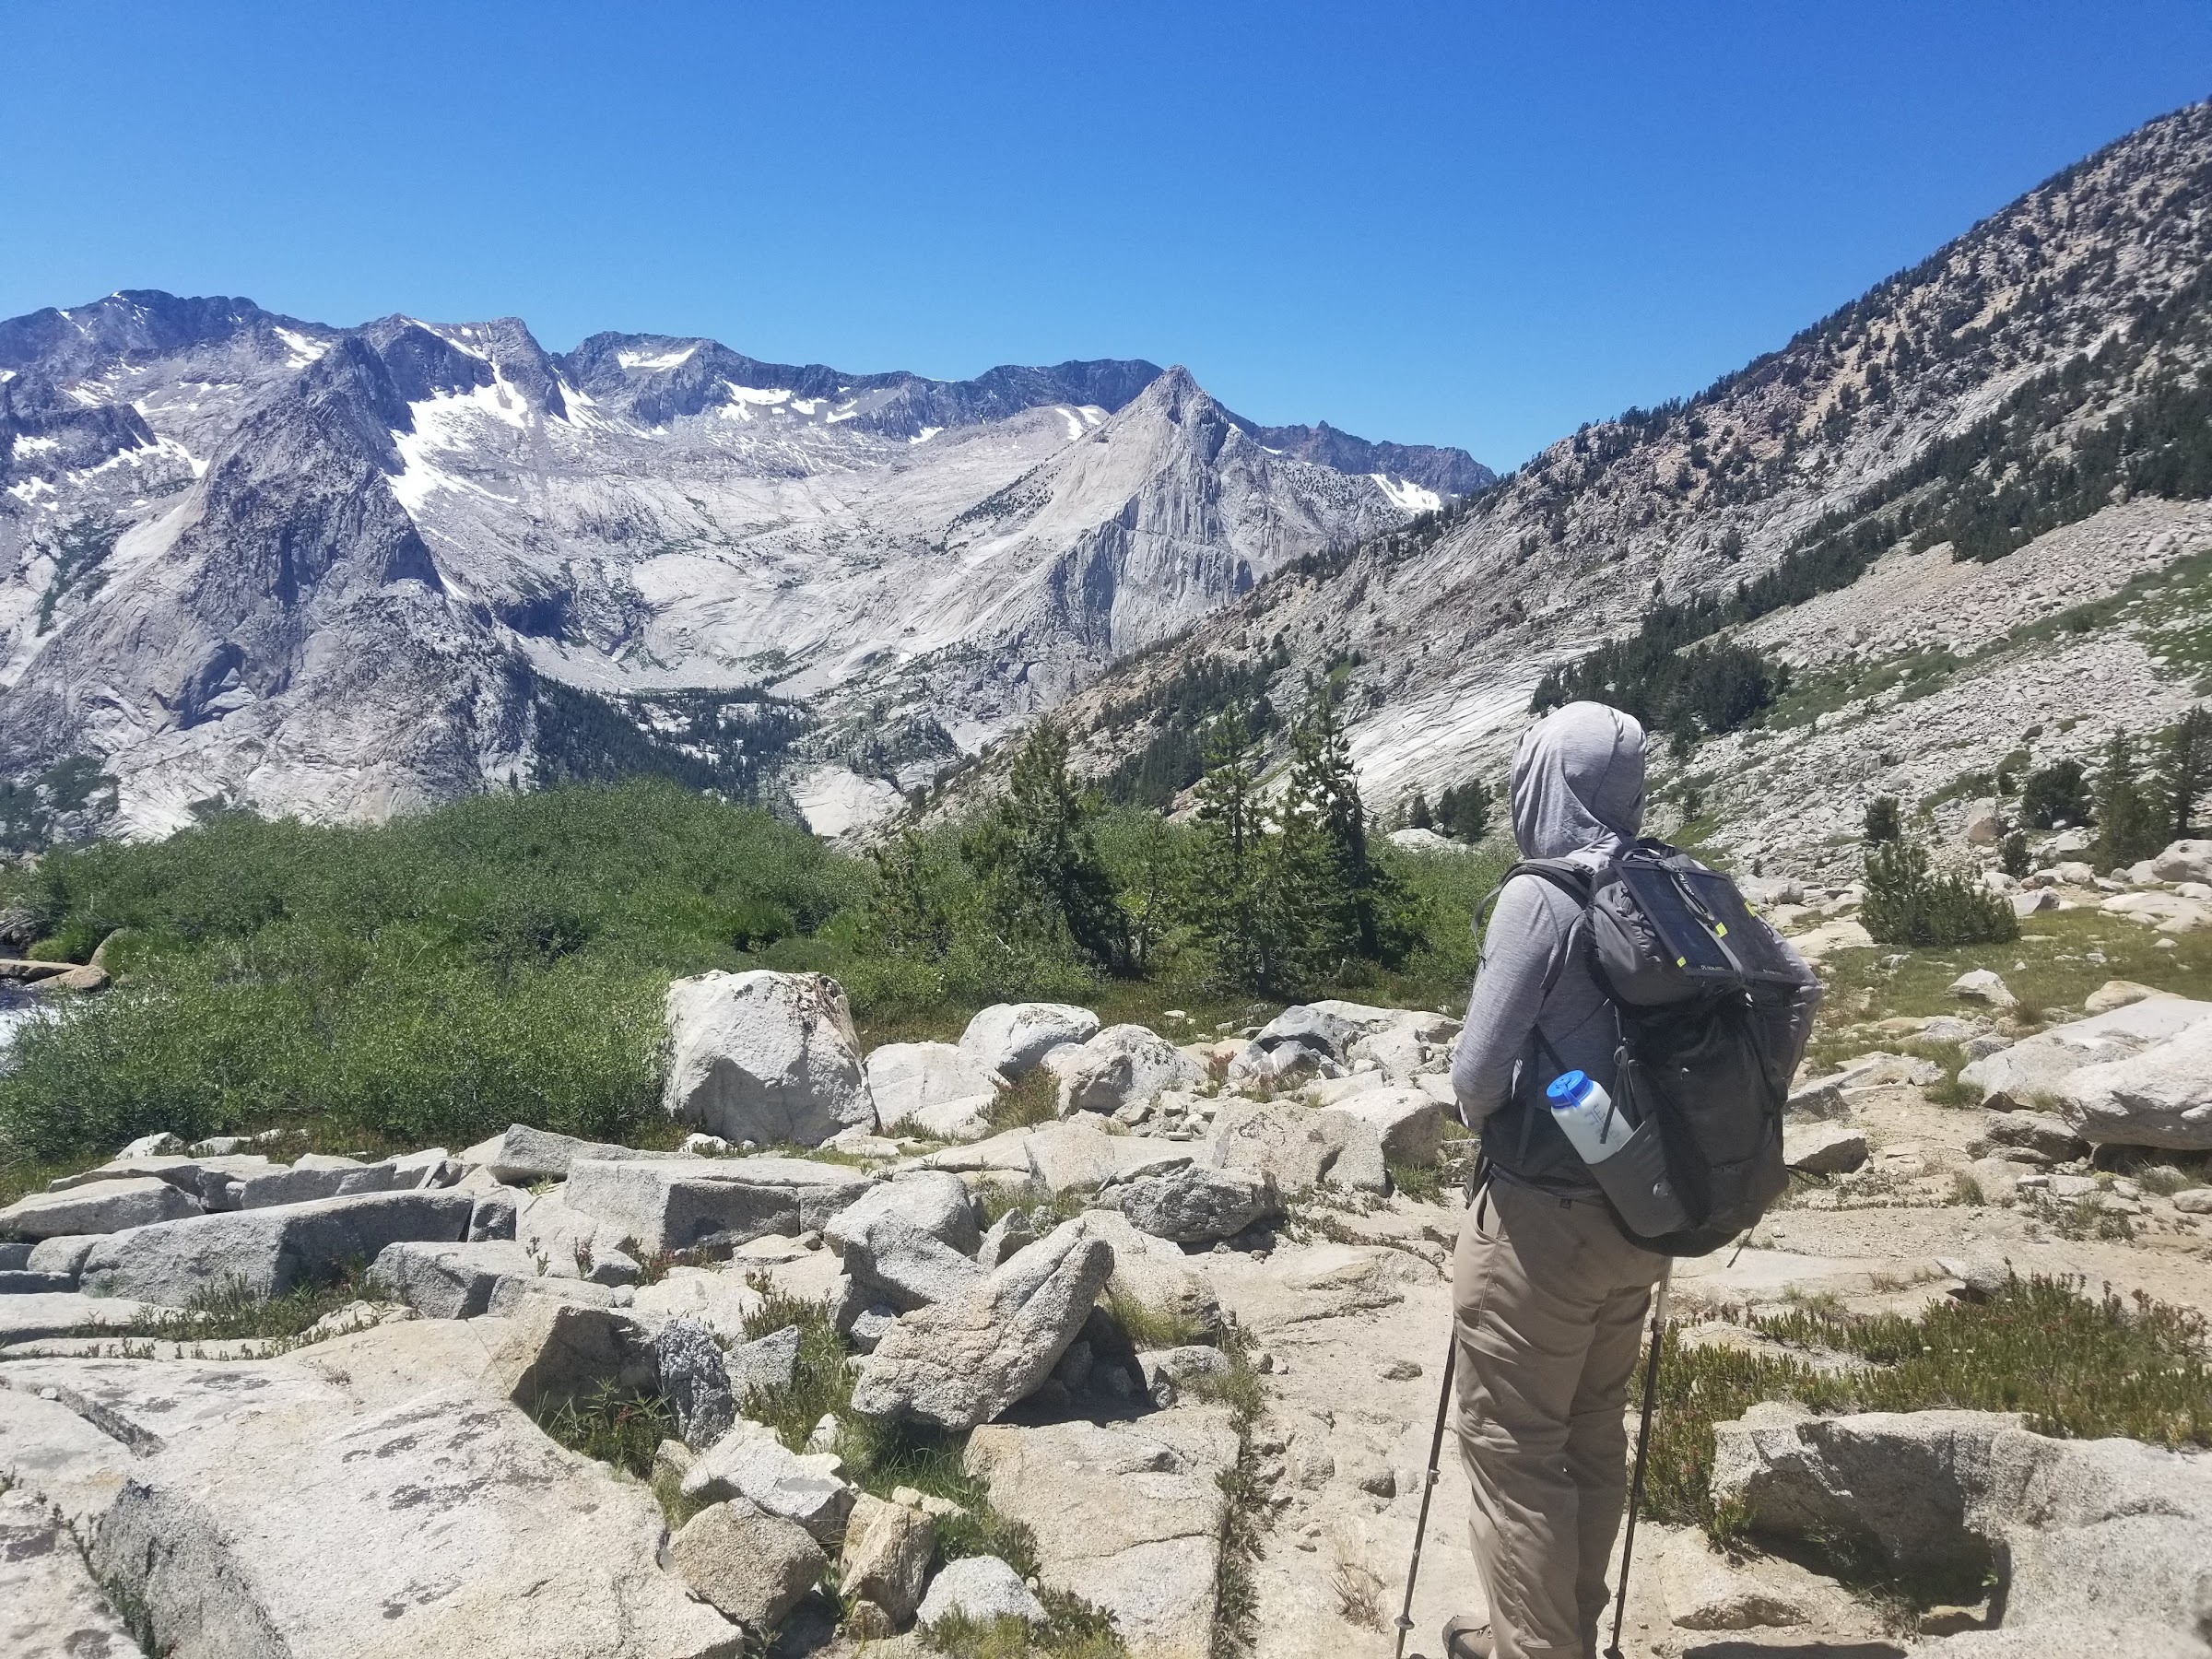
A thru-hike of the full trail from Happy Isles in Yosemite to the summit of Mount Whitney was my goal. I decided to hike south to ease into the higher elevations slowly and avoid a day one ascent of Mount Whitney. Along the way, my goal was to climb some of the more remote peaks on the Sierra Club SPS list.
Permits
Like most trails in California, the JMT is encumbered by permit bureacracy. Despite entering the rolling lottery with a wide three week start date window from three of the four possible trailheads, my request for a permit for two people was denied. So I turned to the backup plan; entering from the east over Mammoth Pass and joining up with the main trail just south of Reds Meadows. This approach would skip the upper quarter of the trail, but much of the journey through Yosemite I had already covered on dayhikes and backpacking trips in years past.
I ended up with two permits. The first: entering Mammoth Pass, exiting Kearsarge Pass. The second: entering Kearsarge Pass, exiting Whitney Portal via Trail Crest. Pulling two permits enabled me to take a night off the trail during our resupply legally. It also simplified getting a Trail Crest exit without waiting too long to book the first permit.
Resupplies
Since my entry trailhead was Mammoth Pass, I set my first resupply for Muir Trail Ranch. MTR is only a mile or so off the trail and their resupply process is straightforward. Be sure to ship your resuppply 4 weeks in advance of your pickup date.
My friend Matt was to join me in LeConte Canyon via Bishop Pass. To avoid having to carry food from MTR all the way through Whitney Portal, we elected to hike out over Kearsarge Pass. By parking my car at the Onion Valley trailhead on Day 0, we were able to self-resupply (and take a much needed night off the trail) in Lone Pine. The Mt. Williamson motel in Independence also offers resupplies and transportation to and from Onion Valley, but we really appreciated the flexibility that leaving a car allowed.
Mapping
I primarily used Caltopo for planning out mileage and elevation. For off-trail summits, I relied upon Secor and Summitpost for route descriptions and did my best to translate that into a route on Caltopo.
One of the most helpful resources during both the planning and hiking phases was Elizabeth Wenk’s Waypoint Data, which is available with the purchase of her JMT book. The creek crossings waypoints and descriptions were helpful in the field for deciding when to use the dedicated creek crossing shoes.
Gear
I used LighterPack to manage my gear weight.
Electronics
I carried both my iPhone 6s and a Garmin Explorer+. To power both of these, I brought a Goal Zero Nomad 7w solar panel and charged both devices directly. I mounted the panel to the top of my pack using two lightweight plastic carabiners. While this was sufficient to hold the panel in place, the indirect angle and inconsistent irradiation of the panel made charging the iPhone somewhat frustrating as the charging circuitry would not turn on again after a drop in current. Were I to do this again, a large battery may be easier and similar in weight to the solar setup.
Nomad 7 mounted atop a light pack on a side trip up to Dusy Basin
Clothing
I went with a simple, single pair of Prana zip-off pants and two lightweight, hooded, long-sleeve Patagonia shirts. I was concered at first that the long-sleeve shirts would be too hot, but in the end they were a perfect weight to keep the sun and bugs off without being too hot. I treated everything with spray-on permethrin. It seemed to work well — I only needed to use bug spray a handful of times.
Rain gear
I opted to skip bringing rain pants and instead relied solely upon my Mountain Hardwear hardshell jacket as protection against wind, rain, and other inclement weather. On this front, I lucked out; it never rained!
Water Footwear
Normally I hike in the late season and don’t have to deal with large water crossings. I had heard that the creeks were still running high after the big 2018-2019 winter, so I opted to bring water crossing shoes that were to double as my camp shoes. I ended up taking these relatively inexpensive ALEADER water shoes. They were a great choice: lightweight, quick drying, and comfortable too. Highly recommended.
Food storage
My trusty Bearikade Weekender held all food and smellables for the duration of the trip. At 650 cubic inches, this was a very tight squeeze on the Muir Trail Ranch to Kearsarge Pass leg of the trip. For any longer of a stretch, I would recommend using a larger canister.
Bearikade Weekender doing its thing near Virginia Lake